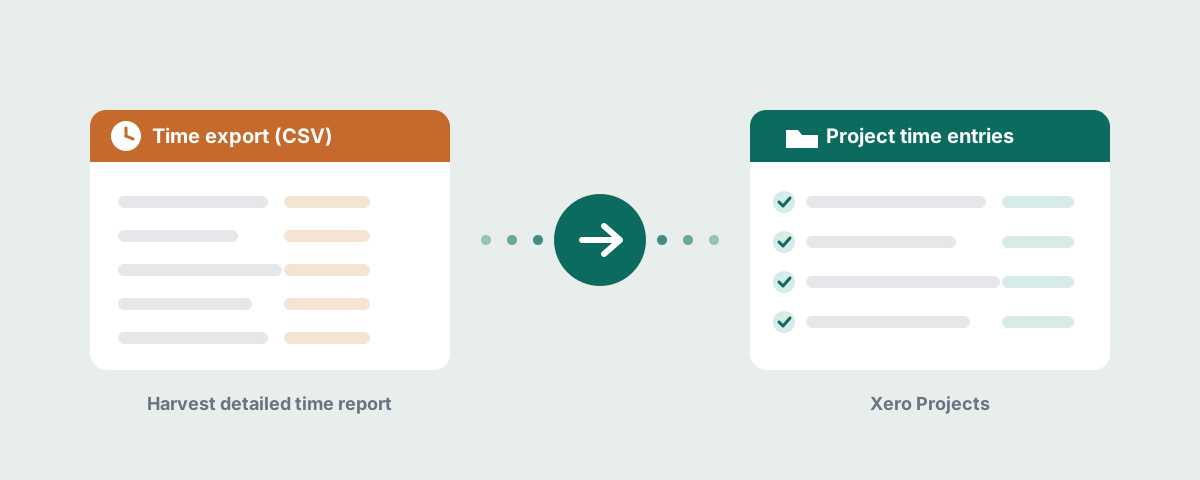
How to Get Harvest Time Entries into Xero
Connect Harvest to Xero expecting your tracked hours to land in Xero Projects, and they won't — that's by design. Harvest's own docs say time and expense entries never sync to Xero; only invoices and payments cross over, so your actual hours stay stuck in Harvest. The fix: export Harvest's detailed time report and push each row into Xero Projects as a proper time entry with EasyCSV, then wire it up so it isn't a weekly chore. (This is for Xero Projects time entries — projects and tasks — not Xero Payroll timesheets.)
Step 1: Get the right CSV out of Harvest
Not every Harvest export carries the per-entry detail you need — the one that does is the detailed time report. In Harvest, go to Reports > Detailed time, set your timeframe and any project or person filters, then choose Export > CSV. If your plan includes custom exports, Export > Custom lets you pick and reorder columns, which is handy but not required.
You'll get one row per time entry and a wide file — around two dozen columns, everything from Date and Project to Billable Rate and External Reference URL. Good news: most of them are just along for the ride.
Step 2: Know what each column becomes in Xero
A Xero Projects time entry is a small object. It cares about five things — which project, which task, who logged it, when, and for how long — plus an optional description. Here's the map that actually matters:
| Harvest column | Xero Projects field | What to watch |
|---|---|---|
Project |
project (matched by name) | Matched by name, and created on the fly if it doesn't exist yet. Use the project name, not Project Code. |
Task |
taskId (matched by name) |
Also created on the fly, inside the matched project, if it isn't there already. |
First Name + Last Name |
userId (matched by name) |
The one thing that must already exist — the person has to be a Xero Projects user before import. |
Date |
dateUtc |
Harvest's YYYY-MM-DD format parses cleanly. |
Hours |
duration |
EasyCSV detects whether the value is hours or minutes and handles the conversion for you. |
Notes |
description |
Optional, but worth keeping for context. |
Everything else — Client, Billable?, Billable Rate, Billable Amount, Cost Rate, Cost Amount, Invoiced?, Approved?, Roles, Teams, Currency, External Reference URL — has nowhere to land on a Xero time entry, and that's by design. In Xero Projects, billability and rates live on the task, and the client lives on the project. You set those up once, and every entry inherits them. You're moving the raw time record, not rebuilding your billing model.
One thing causes most failed rows, so handle it up front:
- Add your people first. Projects and tasks get created automatically as entries come in, so you don't have to pre-build your project list. Users are the exception. Anyone whose time you're importing has to already exist as a user in Xero Projects, and the name in your
First Name/Last Namecolumns has to match theirs. A missing or mismatched person is the row that fails.
Takeaway: the detailed time report is your source file, five columns do the real work, and projects and tasks build themselves on import — so the only real prep is making sure every person in the file already exists as a matching user in Xero Projects.
Step 3: Build the import in EasyCSV
Now the mapping stops being a table and becomes a working flow. The good news: if you're using Harvest's standard detailed time report, you barely have to map anything yourself.
Start by creating a new import page in EasyCSV and uploading one detailed time report as your example file. EasyCSV reads the header row and recognizes the standard Harvest columns, then auto-maps them to the right Xero Projects fields. You don't set this up by hand — it just happens when your file loads. Here's what EasyCSV does for you behind the scenes:
| Harvest column | Xero Projects field |
|---|---|
Project |
Project |
Task |
Task |
First Name + Last Name |
User |
Date |
Date |
Hours |
Duration |
Notes |
Description |
Notice EasyCSV even handles the one column that isn't one-to-one — it combines First Name and Last Name into the single user value Xero expects. Everything not in this table, like Client, the rate and amount fields, and the billing flags, is simply ignored, since none of it belongs on a Xero time entry.
Next, connect your Xero account. In the import page, click Connect Xero Account and authorize the org you want the time entries landing in. Double-check you're pointing at the right entity — if you run multiple Xero organizations, this is an easy one to get wrong and a slightly annoying one to unwind. Then set the destination to Xero Projects time entries so EasyCSV knows you're creating time, not invoices or contacts.
That's really the whole setup. Once Xero is connected and your Flow is pointed at Projects time entries, run your first import — EasyCSV maps the standard columns, builds the user value, and creates any missing projects and tasks on the way in. If you've customized your export or renamed columns, the auto-map might not catch everything, so open Field Mappings to check and fix any field by hand. But for a standard export, a quick glance to confirm it looks right is all you need before running it.
Takeaway: upload a standard detailed time report and EasyCSV auto-maps the columns for you, name-combining included. Connect the correct Xero org, set the destination to Projects time entries, and import. The only reason to open Field Mappings is if you've changed the export from Harvest's default.
Step 4: Test it, then put it on autopilot
Before you trust this with a full month of hours, run a small batch first. Export a short date range from Harvest — a single day, or one person's week — and import that. Then open Xero Projects and actually look: are the entries on the right project, under the right task, against the right person, with the hours and dates matching? A five-row test catches a name mismatch or a wrong-org connection in thirty seconds. A 900-row import catches it the hard way.
Once a small batch lands clean, you can trust the full file — and then the point is to stop doing this by hand every week.
Getting the file to EasyCSV
The simplest version needs no automation at all: export the detailed time report from Harvest, then upload the CSV straight into your EasyCSV import page. That's the manual path, and for a solo operator running payroll-time once a month, it's honestly fine.
To make it recurring, the move is to drop the file somewhere EasyCSV can fetch it on a schedule, so the import fires without you clicking anything. EasyCSV can pull from a handful of places:
- Google Drive or Google Sheets — point EasyCSV at a specific file or folder and let it check on a schedule.
- An FTP/SFTP server — good if your accounting stack already drops files there.
- Dropbox, Box, OneDrive, or Amazon S3 — same idea, whichever cloud storage you already live in.
- A dedicated import email address — EasyCSV gives your Flow its own address, and anything emailed to it with a CSV attached gets imported.
Pick whichever one you already use. The pattern is identical no matter what you choose: the newest Harvest export lands in that spot, EasyCSV grabs it on schedule, and the rows show up in Xero Projects.
The Google Drive version, start to finish
Here's one concrete route so you can see the shape of it. Harvest has a Google Drive integration built into its export menu — when you export the detailed time report, choose Google Drive as the destination instead of downloading, and the CSV lands in your Drive. Put it in a dedicated folder, something like Harvest exports, so nothing else clutters it.
Then, in EasyCSV, set your Flow to pull from that Drive folder on a schedule — say, every Monday morning. From there it runs itself: you export from Harvest into the folder, EasyCSV picks up the latest file, maps the standard columns, and creates the time entries in Xero Projects. Your only recurring job is the Harvest export, and if your process already produces that file regularly, even that fades into the background.
One honest caveat: Harvest can't fully schedule the detailed-report export on its own — recurring reports in Harvest don't cover the detailed time report, and they email a link rather than the raw CSV. So the Harvest-side export stays a manual click (or a Zapier step, if you want to close that last gap). Everything downstream of the file appearing — the pull, the mapping, the import into Xero — is fully automatic.
Takeaway: test with a handful of rows before a big import. Then choose how the file reaches EasyCSV — manual upload, Google Drive, cloud storage, FTP, or a dedicated email address — and put the recurring part on a schedule. The one step that stays hands-on is exporting from Harvest, since its scheduling doesn't reach the detailed report.
Ready to get your Harvest hours into Xero? Sign up for EasyCSV and run your first import in minutes.
Try it →